DNS tunneling

DNS tunneling
The idea of this technique is to use the DNS protocol to route all the traffic, just like a VPN! Of course this method will make your connection slower but will allow you to bypass certain systems like network filters or captive portals. Obviously, you could use this to exfiltrate data too.
The reason why this works is that normally when captive portals or firewalls rules are setup, the administrators block all TCP and UDP connections when certain rule is met but they forget about checking DNS queries. This means that, if all our traffic is routed through DNS, we will be able to bypass all this protections.
In this article, I will explain two ways of setup:
- The first one will make sure the tunnel is encrypted like a proper VPN using SSH, easier to setup but only usable on computers or rooted phones.
- The second is a bit harder to setup but you will be able to use it in both non rooted phones and computers (No encryption though).
Requisites
- A VPS or machine that can be reached from the Internet for DNS requests without problems.
- This little tool installed both in the client and the server that will handle the tunnel: Iodine.
- Obviously a Domain.
Server setup
First of all we need to setup our VPS to be the authoritative DNS for one of our domains or subdomains (I prefer the second option to be honest). The procedure to do this looks like it is different from vendor to vendor so I will focus on Cloudflare.
Setup in one of our domains a NS record for a subdomain or our whole domain. In my case I will setup dns.test.com NS record to point to my VPS vps.francecentral.cloudapp.azure.com. This will tell Cloudflare that now, the authoritative DNS server is our VPS so the DNS queries should be sent to it. Make sure you point your NS record to an A record, at least in Cloudflare this is necessary and the record creation will fail if you try to use an IP address or a CNAME.
With that out of the way, go to your server and install Iodine (You can do it through apt). Now execute this (Make sure port 53 TCP/UDP is available):
| |
This will start the tool in server mode, the 10.2.0.1 IP is just the /27 CIDR block that the tunnel will use, for example:
| |
Make sure that the IP block used by the tunnel is not already in use by any of your client/server adapters. The password it is used to authenticate the clients and avoid unknown users.
Troubleshooting
Port 53 TCP/UDP has to be reachable and obviouly useable by Iodine. If you have properly setup the network rules for your VPS to allow traffic to this port but you are still having problems, maybe you should check iptables configuration.
Client setup
Once the Server is prepared, let’s connect to it. In our machine we will need Iodine too, luckily Kali already has it. Just execute this (The password is the one you configured in the server earlier):
| |
The output should be like that if everything went ok. The vps.francecentral.cloudapp.azure.com part of the command is optional, basically you can specify the nameserver you want to use, if your server is reachable put it here to improve speed.
Verify that the tunnel is open by going to a terminal and checking ifconfig, if you have the adapter dns0 all is good:
| |
Now we can setup a SOCKS5 proxy and start routing our traffic, I recommend to use SSH for this to make sure the traffic is encrypted, otherwise the traffic can be intercepted and read if using insecure protocols (Remember that DNS is not encypted):
| |
Some notes about this command:
- The IP address used: 10.2.0.1 is our VPS at the end of our DNS tunnel
- The -D option is just telling SSH where the SOCKS5 proxy will listen for requests in our machine
- The -q is just for quiet operation
- The -N will tell SSH that we don’t want to execute commands so no prompt
- And the most important option, -C. This will compress the traffic to reduce the bandwidth, what is something you are gonna be thankful about since the DNS tunnel is not what you will call something fast.
Now just tunnel your traffic through the proxy! You can use something like proxychains or the OS proxy configuration to start tunneling stuff through the tunnel.
In my case I will just setup Mozilla to use the proxy. I love FoxyProxy so let’s setup the proxy there:
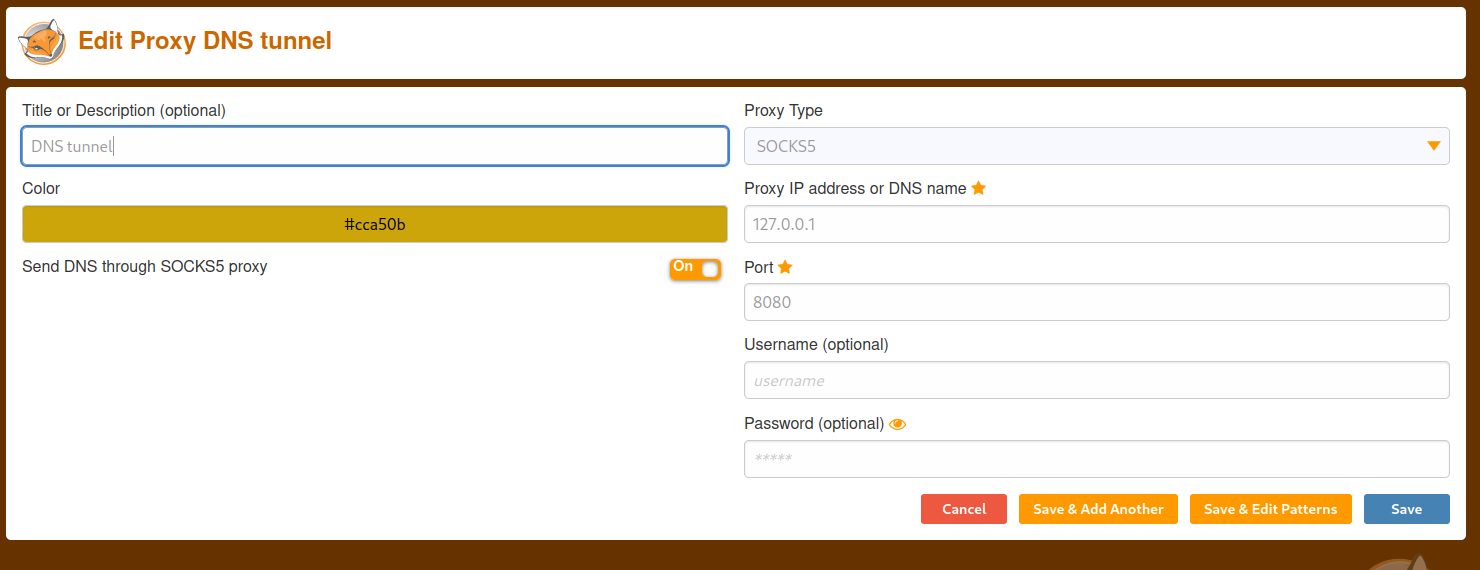
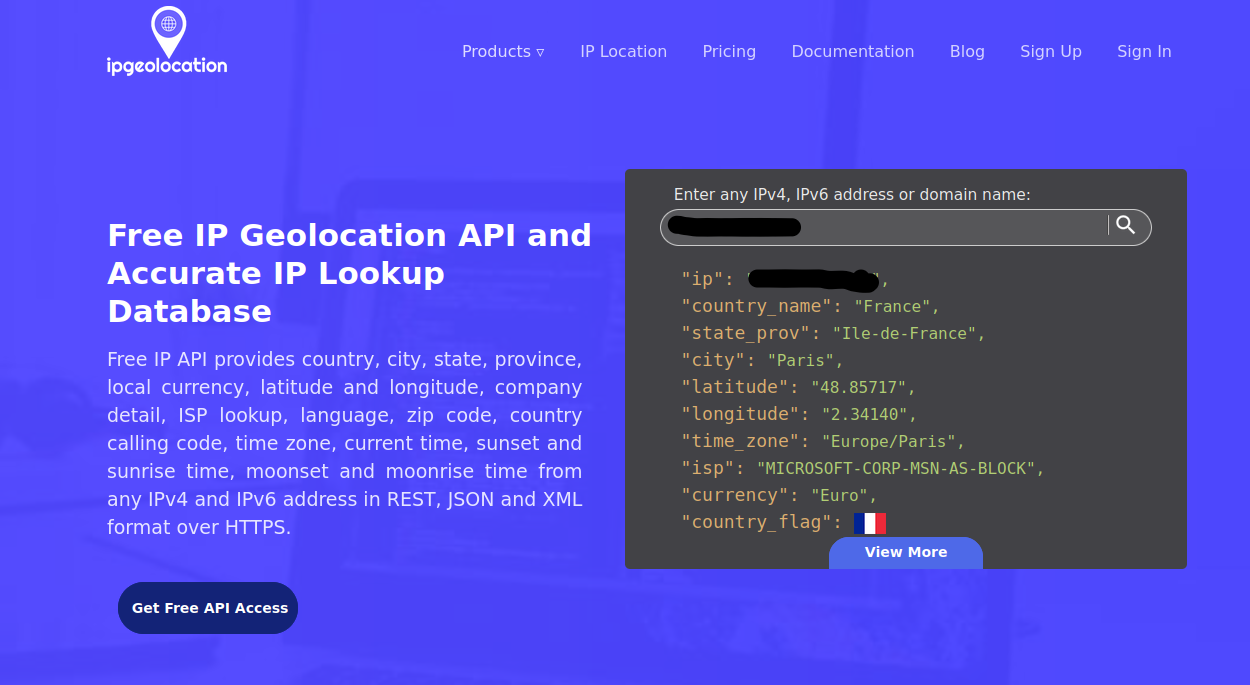
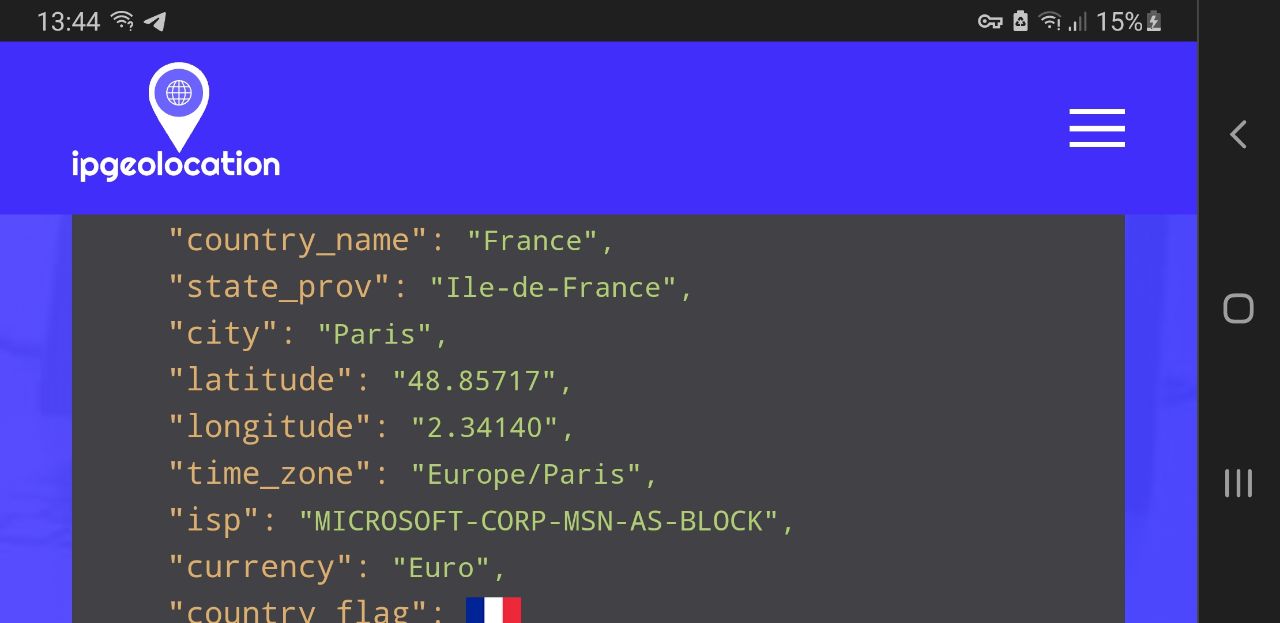
My VPS is located in Paris and as you can see the traffic is being routed from there:
Also check this Wireshark capture, weird DNS queries everywhere!
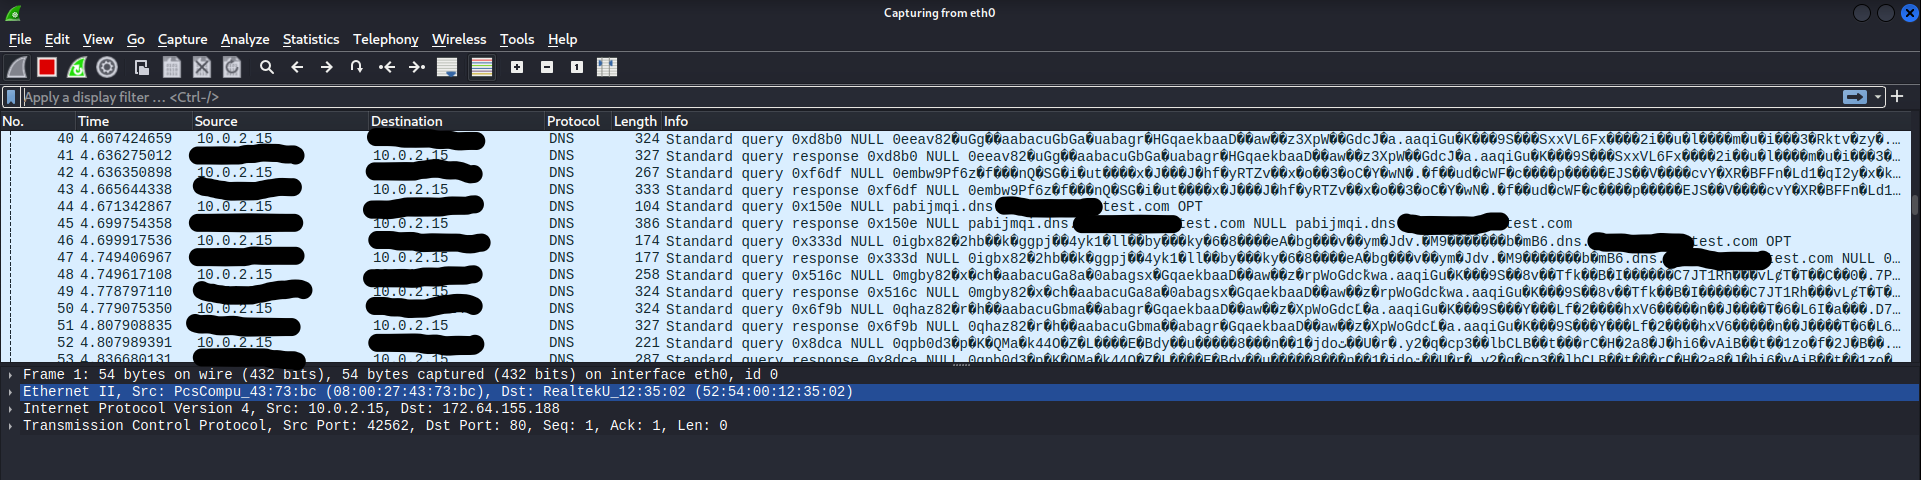
This is just Iodine encoding all our packages in DNS queries and sending them through the DNS protocol, as you can see is our VPS who is anwering to all of them.
Android
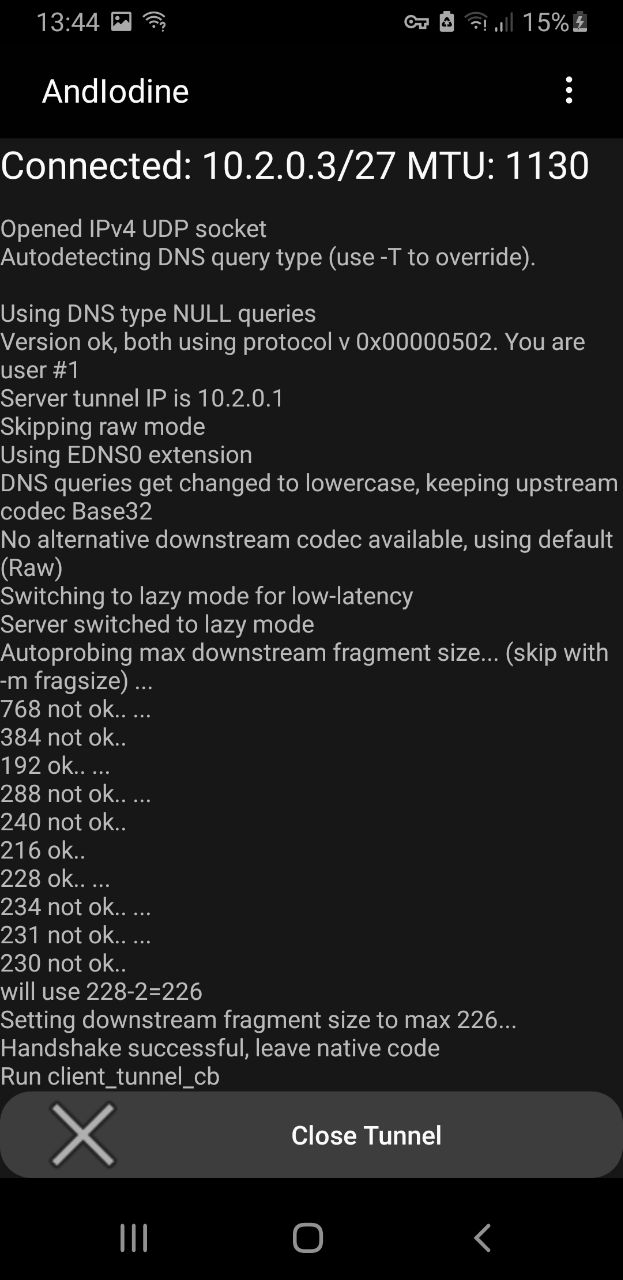
If you want to use all this in an Android device you would need to root it or use Andiodine.
Basically with this app we are doing the same as we did in the previous section but without the SSH tunnel part. That means 2 things:
- The traffic is not encrypted but if you use secure protocols everything should be fine (As usual you know).
- The routing is not performed by SSH and it is the Linux server the one doing the job.
The second point is the problem, we need to make sure that the server is able to forward traffic and also that it is working as a NAT to avoid problems when the packages return.
To get all this working I wrote two script that setup IP formarding and NAT before running Iodine. Also they make sure to clean up everything when we close the server.
Why two scripts? Well the first one is for hosts without Docker or any container stuff running:
| |
The second script is for hosts that has Docker running, I know is pretty common so I decided to include this here too since the setup is a bit different:
| |
DISCLAIMER: The first script configuration will make the server forward any packet that reach to it, maybe you should consider a more restrictive setup with iptables for production use. The script for Docker hosts only allow the forwarding for packets comming through the DNS tunnel.
Once this is ready, we can setup a conection in the Android application and start using our DNS tunnel without problems in our non-rooted phone!
NOTE: This setup could be used through a computer too! You could use the SSH trick we saw before or the script called iodine-client-start that is installed with Iodine to connect to your DNS VPN just as the phone does.